| Day 165 |
 |
TankTops & fuel
fill |
| Day 165 |
|
TankTops & fuel
fill |
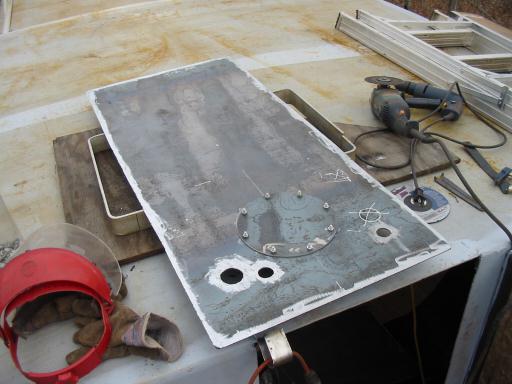
| Today was a good day! Gena
needed the top plates cut and ready for the fuel tanks.
She instructed as to where all the holes must be and I
zipped them off. ( above ) The bolts were welded on from underneath, thus providing a good seal, and the round access plates and nuts after. She then welded in the fittings and lined them up inset into the tanks. |
||
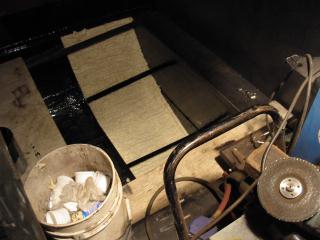
| During the
week, one evening, we went out and applied the foam for
underneath the tanks. We used regular foam-in-a-can
stuff, but it was difficult to make it stay down without
bubbling up. Eventually we made a good seal over the coal
tar. Good thing it's over coal tar and not bare steel! *This likely won't be our insulating solution as it's just too unreliable. We have been eyeing over the two part stuff. That ( hopefully ) will work much better. We have been told it does. We have seen the result of "pockets" in foam, especially if the priming or foam breaks down, or worse, if there was no primer or coating. The bar on the stringers ( dark lines ) has rubber mat glued to it so the tanks won't vibrate against bare steel. This is just "our" way of dealing with a tank on top of the stringers. Not the only way. |
 |
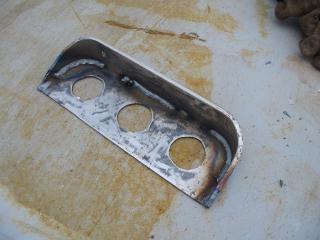
| The remainder
of my day was spent making a port for the fills and
pumpout receptacles. This has been a subject of much
debate, not only how to place them, but where. At one
point we wanted to put all three into the side of the
deck steps up to the poopdeck. Then it was in the side of
the hull. We weren't to sure what the surveyor might
think of that! The final decision is into the side of the pilothouse towards the front but aft of the bulkhed there. This means the pumpout must pass through the bulkhead, but that tank is right on the other side, and the aux. water tanks which will be plastic are on the same side as the fill. We likely won't be running the water fill to the forward stainless tanks anyway as we have found out the chlorine in shorewater can damage stainless! Those tanks will be strictly connected to the watermaker. I wanted some angle inward on the fuel fill particularly to reduce spillage onto the deck, so I decided to inset them....and besides, it looks cool! |
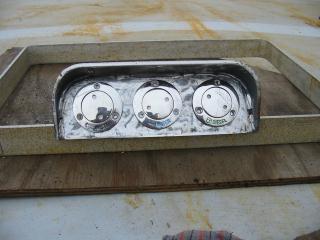
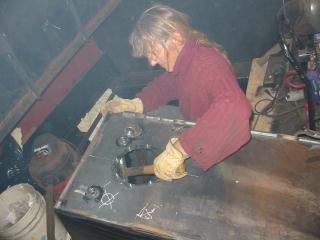
| Gena to the
right testing out her placement of fittings. They must be
easy to access in a tight area. The clamps on the
fittings, or the fittings on the fittings may come loose
one day, and must be placed in a way that nothing else
interferes with access to them. ( I wish car
manufacturers would heed to the same desires! ) Gena is a master at this, I am not (hehe) so that's her job. |
 |
Day 165:
7 hours - Made and welded on tank lids and made fuel/water/waste
port
To DAY 164 |
Tough
Radio Repair job?
Call Sandy's CB (780) 986-7433 VE6-SDS |
To DAY 166+ |
