| Day 232 |
 |
Ceiling and hatch |
| Day 232 |
|
Ceiling and hatch |
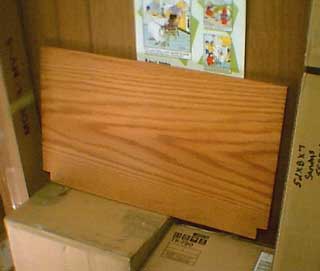
| Before the first ceiling panel goes up, the sliding entry hatch to the pilothouse must be installed ( Day 206 ) | ||
The the solid oak hatch slide that we cut down to 3/4", sanded, and coated twice (to a smooth darkened oak finish suitable for a dining room table! ) was inserted. It goes in from forward between the ceiling and dashtop above, never to come out again. Normally this will remain open unless privacy is required, or in the event of a pilothouse window failure. The door will seal against this. The aft edge must be finished to flow into the frame underneath. We used some plastic corners to make a slide and it works well. |
 Gena cutting off 1/4" with a dado saw blade
|
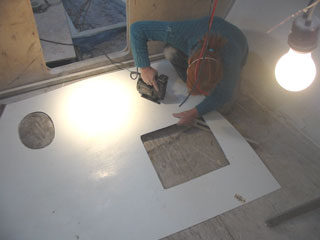 Jigsaw is ok for circles
|
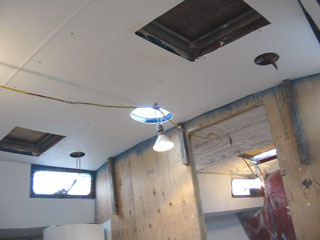
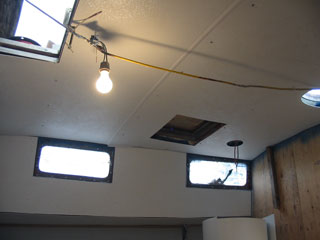
The remainder of the
ceiling was cut and held in place then the hatch and vent
openings were marked and cut out. The ceiling we put in
last day had to be removed and cut down 3/4" to get
rid of the rogue screwholes we put in too far from the
bulkhead. (Not thinking duh!) We then used the newly cut ceiling to mark a
line on the other section, cut and fit into place. The photo to left shows how nicely everything went together. The vertical 2x2's were used to temporarily hold the ceiling in place while hatches were marked out. The cabin edges of the ceiling aren't yet attached. |
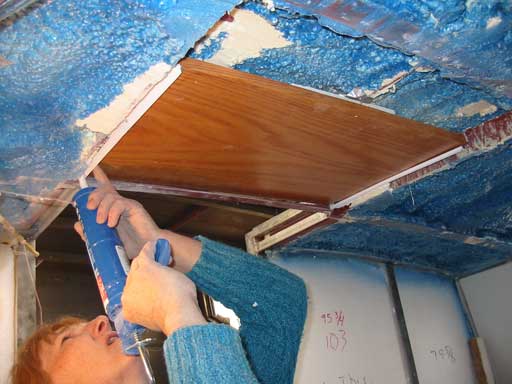
| The hatch interior work
will prove to be interesting, and we have a few ideas
with wood. The plastic cornering between the ceiling and the cabinsides fit ok, but at the joint has proven to be a real menace. There's no way to make it look nice as the corners edge flows down to less than a millimetre. Unfortunately, the joiner is over 2 mm thick. I held up a piece of oak trim in it's place and finally Gena decided to go along with using it in place of the (ugly) 90º over a 100º corner situation. I always thought that would look great! Yay!! |
 |
Day 232:
6.5 hours - Installed hatch slide and galley ceiling panels
To DAY 231 |
www.metalboatsociety.com Advice/discussion from real experience |
To DAY 233+ |