| Day 241 |
 |
Hatch-test, &
staining |
| Day 241 |
|
Hatch-test, &
staining |
| It's a nice day so outside work could be continued... | ||
|
The
hatches really need to be started as they have sat all
winter, and I'd really like to try out some ideas I've
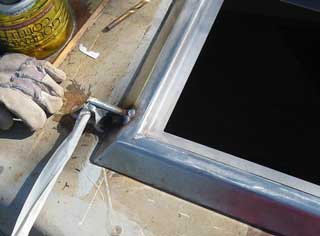
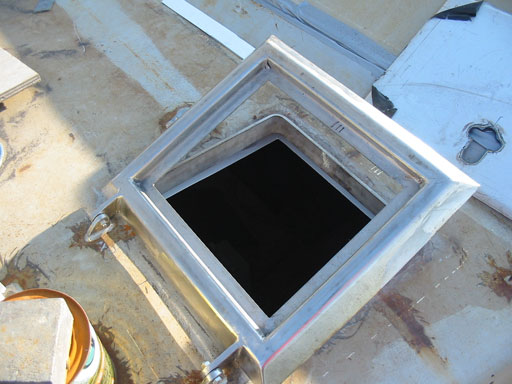
thought about for months! Firstly, we want to weld the hatch side of the hinges directly on ( like the ones already on the deck ) for strength and simplicity. For a while we were thinking on welding them onto a stainless plate, then using small nuts and bolts to hold them in place. This was because of possible warpage problems with the hatch frame. I came up with an idea to
suspend the 3/8" hinge away from the hatch by the
thickness of cigarette package cardboard, tack on one
side, remove the card then tack on the other. I tryed this on a test piece and it worked! No warpage at all, nada! ( See inset photo )
|
|
| Pretty happy
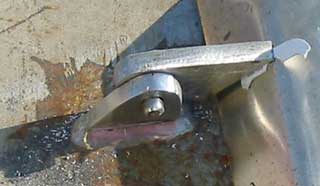
about this, I merrily went on to the real thing. The pivot is 3/8" SS rod inserted into both sides of the hinge, but welded onto one from the end. The whole thing seemed like it would all work until I tryed to pull the hatch off by sliding it to the side. It wouldn't budge!! OMG! I thought! Somehow the rod pins had siezed in the holes which seemed large enough to start with. Just a slight twist in the hinge and a sharp edge had cut into the rod like a knife and made a lip when I opened the hatch. Stainless rod is too soft for this application so hardened 3/8" stainless bolts must be used. I guess hardened is better because it worked fine after that. ( Top photo ) Lucky Gena had some experience knocking out siezed pins ( I guess ) as she saved the day! I am a bit nervous about welding the bolt head to the hinges, as it could go crooked during shrikage, but it's necessary for a good secure lockdown against thieves when we're off exploring on land. |
||
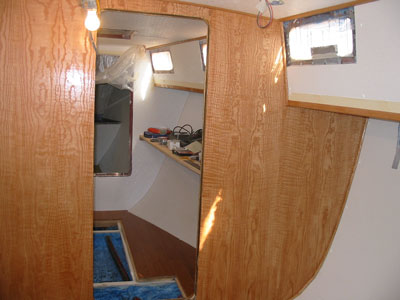 |
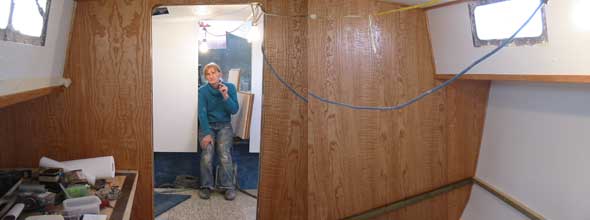
The week holiday we took is
over so time to coat the wood with minwax(tm) and pack it
in for another week. As can be seen in the photos, even
the first coat looks great! Notice that finally we have somewhere to temporarily lay down all the tools. Better than sprikled all over the pilot house floor. The berth will be boarded over so we can sit more stuff like paint cans, coveralls, and more tools to organise a little as we move aft. The hatches, as they are completed, will be polised up during slow times at work. ( If there are any that is! ) |
|
Day 241:
6.5 hours:
Hinged first hatch, filled last of trim and coated with first
coat of finish. Coated inside of berth frame, and thickened up
base coating.
To DAY 240 |
 Sales, Service, Installation |
To DAY 242 |