| Day29 | 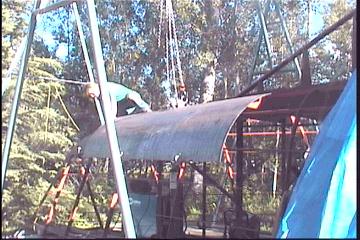 |
Radius plating
the bow (Gena in photo) |
| Day29 | |
Radius plating
the bow (Gena in photo) |
| Finally after a long wait, the radius plate has arrived! Our origional plans of having a 13' long piece for the bow were scratched when the supplier informed us ( after we called 3 weeks later ) that they couldn't roll a piece that long. So we went with 10 footers, which may be a good thing. | |
| The first two
pieces, starting at the bow, were cut from a 10' slab of
radius. We placed them on over the bow, being careful to
keep the center lined up with the center of the radius.
(We later on found this not so important ) Marked up an outline for rough cutting so it could be pulled in closer to the frame, then cut it oversize, except where the bow stem touched it. Once the projected radius, the one we decided would be fair, was met, and the bowstem seated close, we cut off the back of the plate to be vertical. |
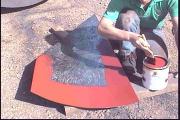 Priming finished radius plate for bow cone |
| Once tacked into place, we started on the opposite side. The short plate was not a problem. The longer plate may be a different story. We have moved it into place ( pic below ) and it seems very rigid, not very yeilding as we thought it would be. Should be able to get away without splitting it down the middle though. Must re-enforce frame 2 as it may buckle under the strain. | |
| Clearly some technique will have to be developed in order to make pleasing results. Of course, to us amateurs, the job looks impossible! I figured it would have been better if the radius curved diagonally across the plate, or if it had been rolled diagonally. This way the plate when centered would tend to follow the curve around the hull more. The waste would be phenomenal though. Pulling it in against it's will seems so brutal! | 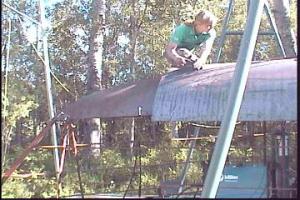 |
| DAY 29
- 10 hours Cut bow radius plate and positioned and tacked, sized up next radius plate |
|