| Day 321 |
 |
Bowsprit stanchions |
| Day 321 |
|
Bowsprit stanchions |
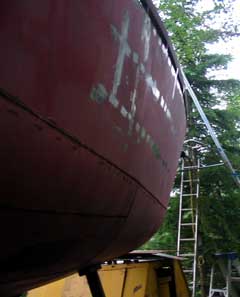
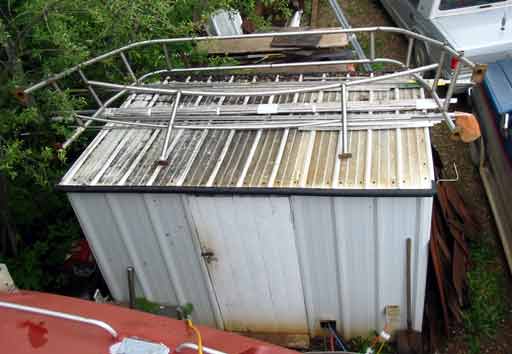
| It looks good from here! Standing up on the far tip of the banister of the porch I took this photo and got a boost of confidence that the bowsprit looks fine. | ||
|
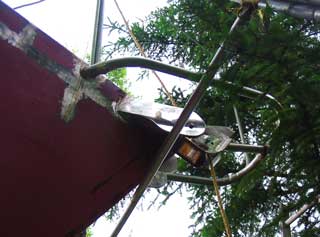
The center pipe was fit by cutting and grinding into place. That was the easiest way to do it because a round pipe going on to a curved "V" is impossible to batten. Once the pipe fit closely into the bow, the end was cut to seat the perpendicular pipe.
|
|
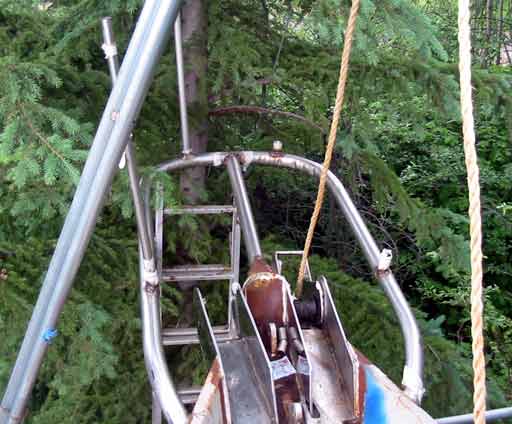
| The stanchion mounts were cut from the last of the deck mount style 60º mounts. In fact those were the last 4! Amazingly there were just enough mounts in that bulk order we puchased from someone on ebay a couple of years ago. I thought we had more! | ||
 |
They were welded on to match each other in
angle and position. My only dilemma is how high to make the stanchion
rail when the time comes. Should it flow with the rest coming from aft,
or jut upward to maintain safety height?
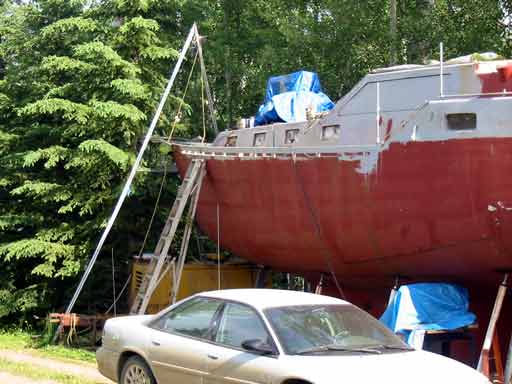
A lot of leaning over the rail will be done here while changing anchors from the rollers, etc, so perhaps a lower rail would be better. As for safety, it's hardly a place one would want to be during a storm given the motion of a boat near the bow. We have no choice but to remove the radar arch as we need to polish up the stainless rails and prepare the deck for coating. |
|
Day 321:
6 hours:
Sprit frame complete with stanchion mounts, more hull smoothing
To DAY 320 |
 Sales, Service, Installation |
To DAY 322 |