| Day 343 |
 |
Final Paint, Keel, Portlight |
| Day 343 |
|
Final Paint, Keel, Portlight |
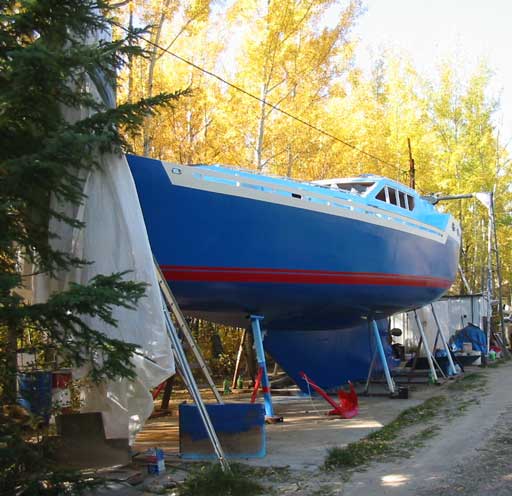
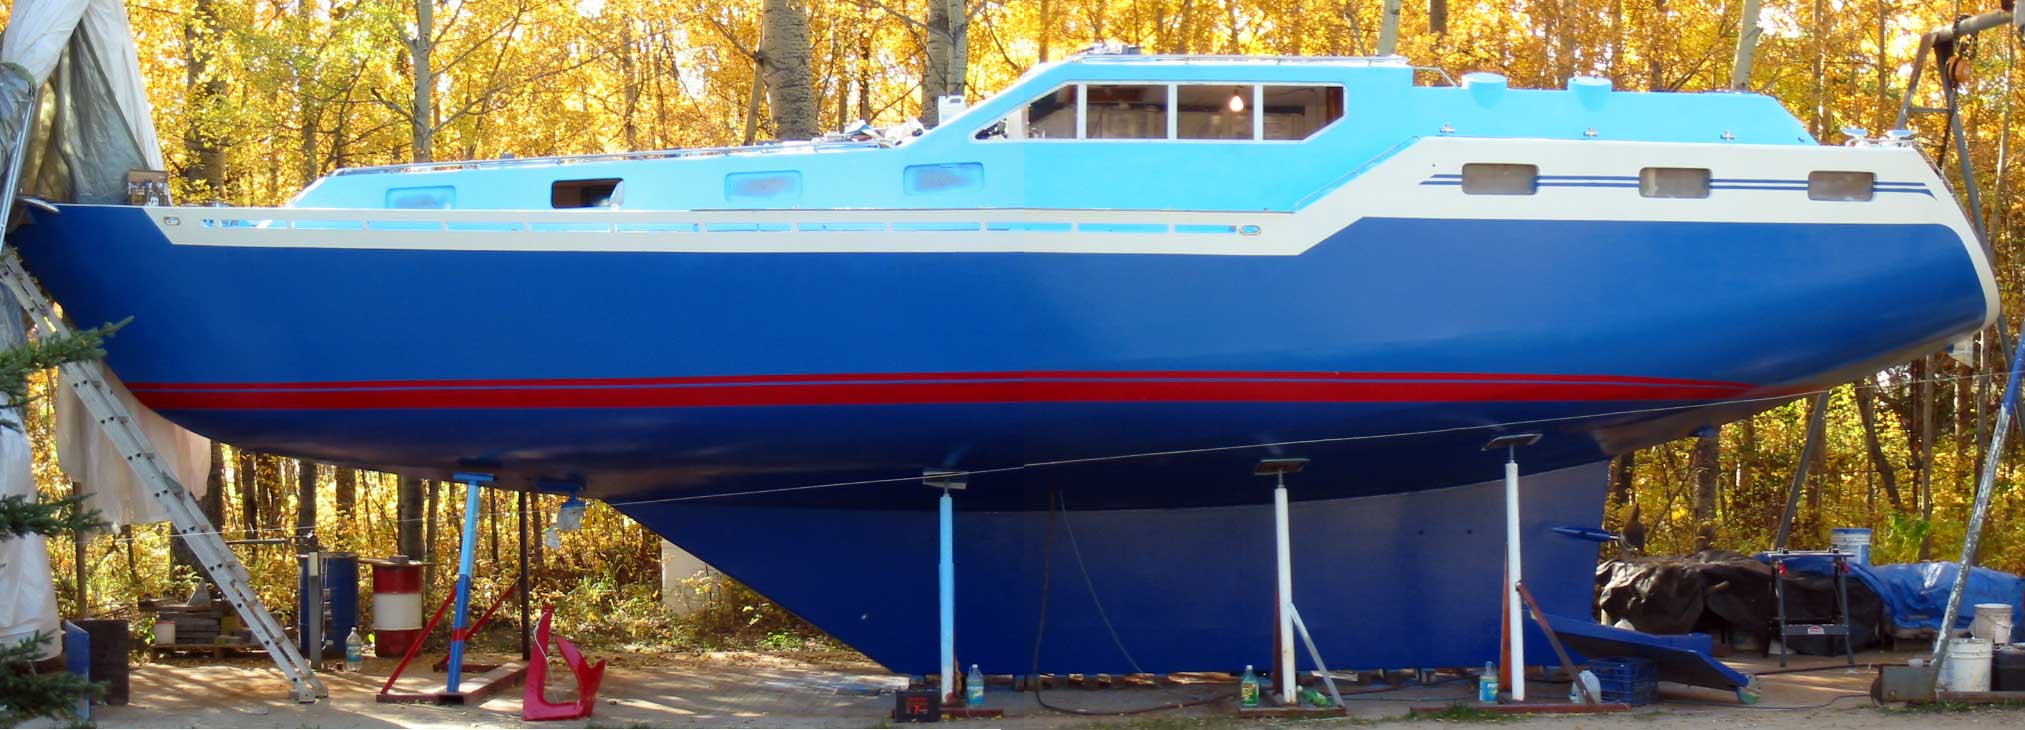
| At last the big day has arrived! No more giant paint jobs! This is it, the last area to paint, the keel. | |||||
| We have both been looking forward to this
and are happy to have pulled it all off over summer. ( A miracle in this
climate! ) The rudder must be included in this coat as well so Gena got to work on that. My back was thrown out during the work week, so I had to save my energy for painting messing with a port light inside. ( below ) After Coating and smoothing then recoating, the "starved cow" look of the keel has been greatly reduced. Now partially blind fish will think it's perfect! Gena did the first pass as I went around with the brush doing weld humps and the keel to hull join. This makes certain that coverage is thick as even after a few minutes it starts to set up, thicken. I did the final pass to give it a smooth appearance. That night the temperatures fell to near freezing but this paint will cure several degrees below, so it wasn't a worry. |
 Final sanding around propshaft 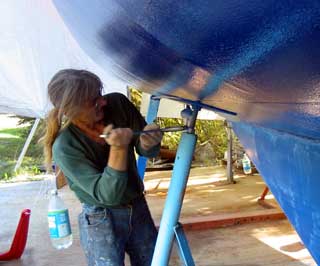 Gena lowering a support pad |
||||
|
|||||
 Test piece |
 |
||||
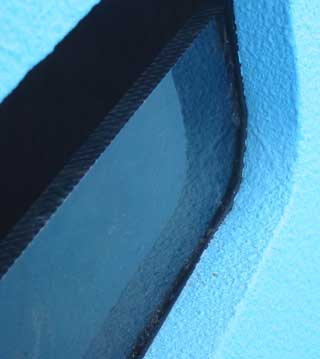
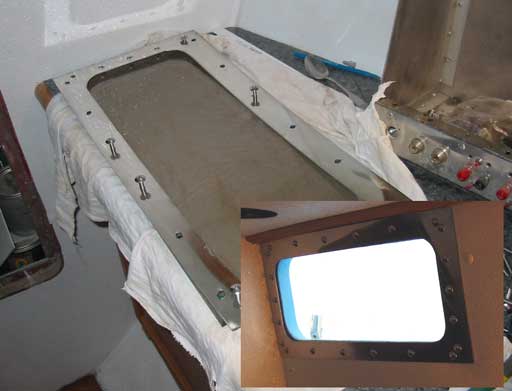
| On future frames, the holes will be marked
from the corresponding lexan. The frame will then be bolted loosely in
place to get a pattern of the portlight shape. This one isn't perfect
but not bad for a first try. ( Above inset )
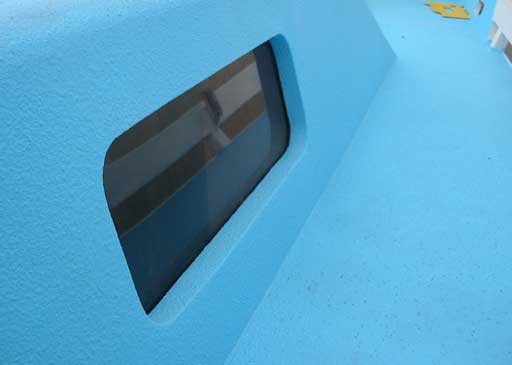
Blog: Even though the tint is very light compared to the grey, the privacy is very good when looking in from outside. A consideration in marinas. I consider curtains or shades for use at night...when windows are kinda useless. |
 |
||||
 Click for large composite image In Windows Explorer, click the box in the bottom right hand corner to enlarge |
|||||
Day 343:
8 hours - Painted Keel, First portlight finished.
To DAY 342 |
Fresh Nelly (me) at
myspace! Come by and say hi  i-tunes artist Fresh Nelly's low profile secret space |
To DAY 344 |