| Day 347 |
 |
Front window fitting |
| Day 347 |
|
Front window fitting |
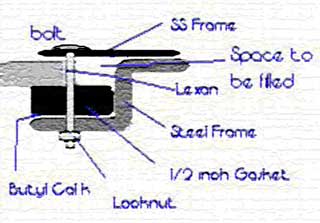
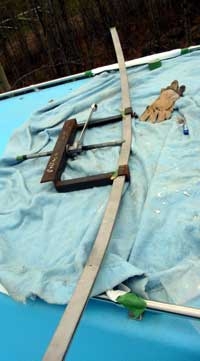
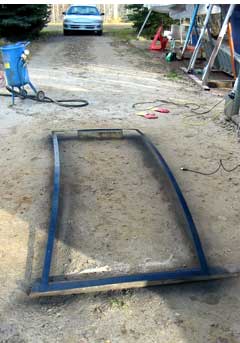
| Installing the front window
had to be carefully planned in order to maximize the time we have, and
to take care of all of the small problems involved. While I bent the frames and drilled them, Gena cut up the gaskets and made sure there was a good fit. She couldn't drill the holes until I had the frame welded together as this would be the template. |
|||
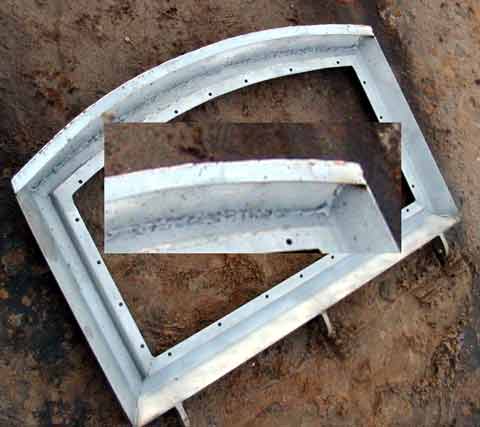
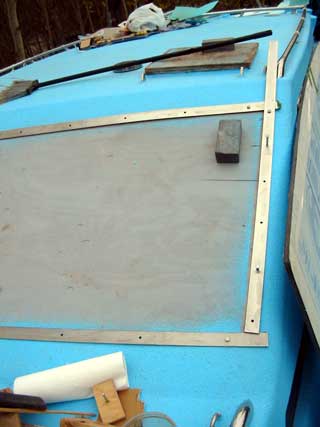 Bend in top and bottom of frame matched- Cut angles marked while in place aligned with bolts |
|||
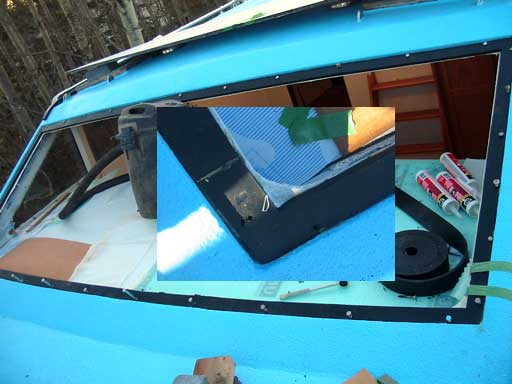
Once the holes were drilled in the gasket,
Gena noticed that it wouldn't stay in place and wanted to straighten
out. We applied the butyl calk to the base frame and used bolts to hold
the gasket, then used small blobs of "goop" to stick the gasket in place
at the bolts so once they were removed, the gasket would stay. We had to
wait a while for the goop to dry so I worked on the forward lip of the
front hatch. It had a nasty sharp edge that we didn't like so I bent
some flat bar then welded it on to get a softer point. ( below ) |
 SS frame welded together smoothly 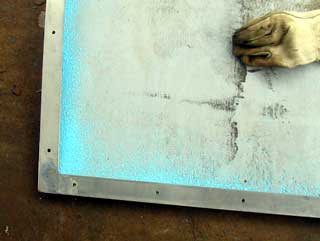 |
||
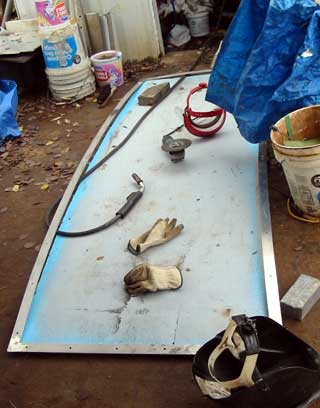
The frame
also needed to be painted because polished SS just wouldn't have looked
good, surprisingly! It looked unfinished... o |
It had to be taken inside
to dry well as the temperature was only a couple of degrees above zero. The truss head bolts were inserted with a nylon washer so the paint would be protected anyway. |
 Frame painted with Tremclad |
|||||
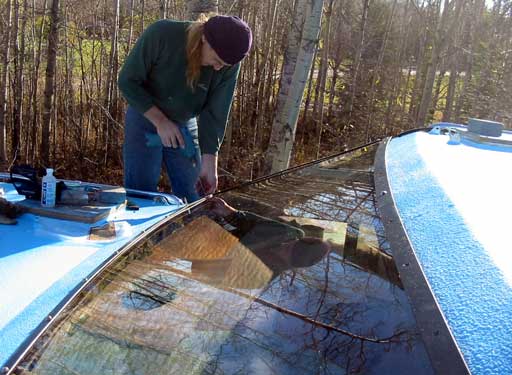
Hopefully the distortion is ok for viewing buoys and markers etc. The side windows are great. The oak center supports and edging can now be put back in, but no hurry on that! The window is remarkably rigid for this span. I dropped butt first onto it from a standing position and it was like steel (ouch I won't do that again!) and the supports aren't in yet. We're confident.... |
|||||||
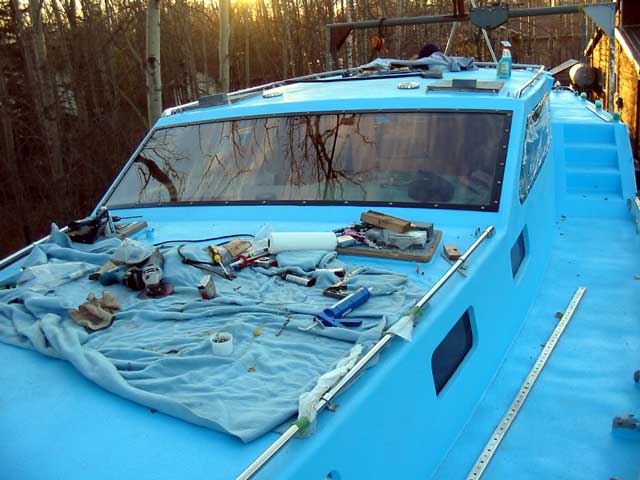 |
Finally in place, we noticed the inside of the pilothouse warmed up quickly with the heater, a welcome thought with winter on the way. Also the sound deadening effect was amazing. We had to yell to communicate through it! |
| To end the day, we decided to take Genas' new tender out. ( I say it's hers because she was soooo happy to buy it! ) The motor arrived last week so we're set to give her a try. | |
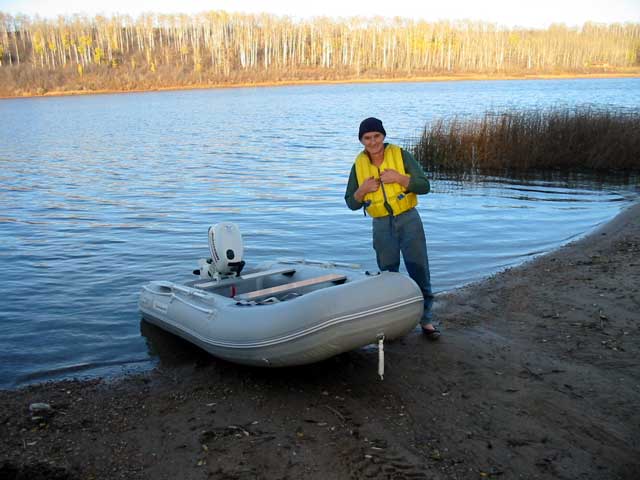 Gena proudly shows off the new tender! |
Because the motor is brand new, we were only permitted to go to half throttle for the first few hours. Even at half, she moves at a fair clip, we forgot the GPS but I'd say 6-7 knots easy. Single handing in big waves would require some weight up front though as she wants to go skyward when opened up some. An inflatable has pluses and minuses, but we
like the idea of stowing when on a crossing to reduce windage, especially in
nasty conditions where many people loose their tender from loose lashings
and big waves. The seats suck, we will be replacing those! |
Day 347:
12 hours: Mounted front window! Tested tender.
..to Day 346 |
 Arcadia. Fellow Boat builder to the North! |
..to Day 348 |