| Day 359 |
 |
Adding more galley |
| Day 359 |
|
Adding more galley |
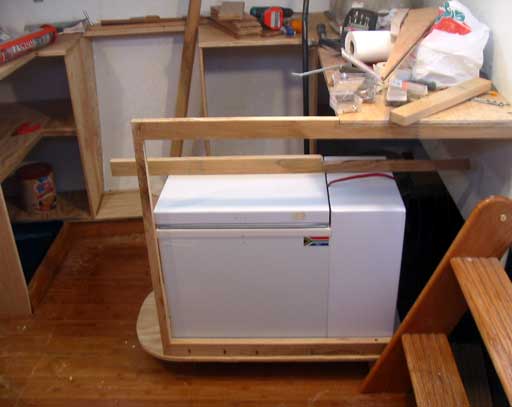
| Over these days
off, it feels like we're getting nothing done (the way it always
seems !) but the pictures tell the story in their own subtle way. Gena
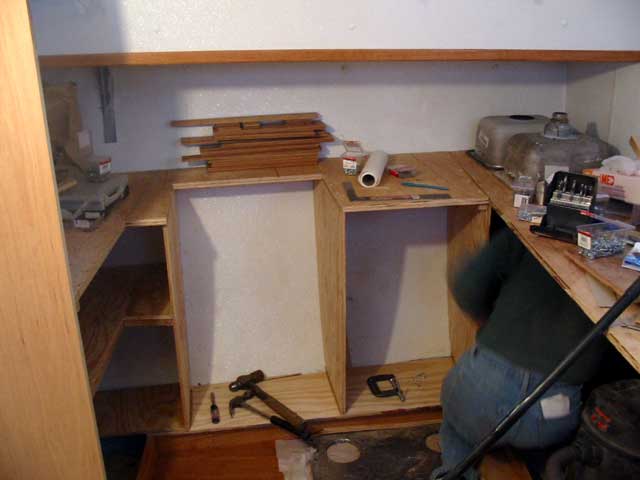
has made very good progress in the galley, with the stove/oven area
fitted and shelving planned. The counter seems to be out far enough to
be usable without pushing ones head into the cabin side. It could stick
out more but hey, we could have a larger boat! The vertical dividers were battened in to the hull and cut, then screwed and glued in place. It's a good idea to glue everything (we use PL400) so that wood can't creak from weight shift, which is very annoying. -Unless you like that creaking sound. Some of the hard to reach areas must be
used as everyone who is out there cruising already seems to mention lack
of space for foodstuffs and/or cooking related items. Gena split the
deep aft edge with a shelf to perhaps facilitate our actually using
these areas on a regular basis.
|
||||||
 Seat top enclosure |
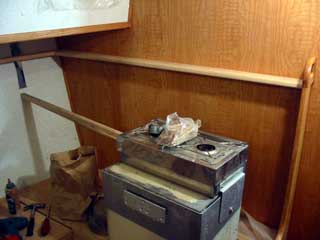
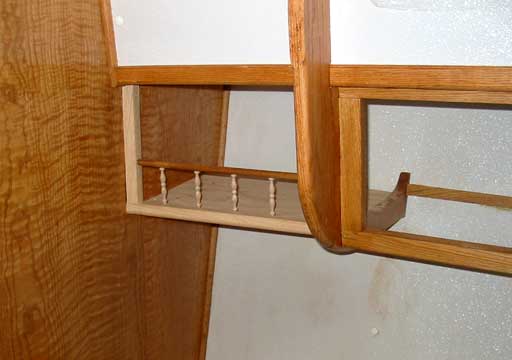
Below is a view if the side seat forward and a stick marking the close
edge of the mast. Notice my "pretty" vent installed at the bottom.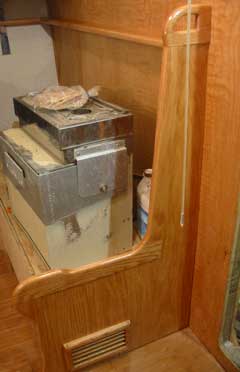 Mast center next to forward seat |
|||||
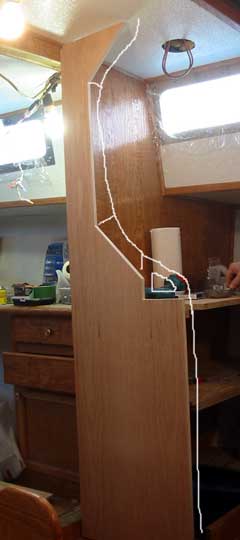
| I began the seat
enclosure at a height of 30" above the seat base. This is the equivalent
of a high back lounge chair, and should be comfortable. The cushions
will be encased well. but need to be angled out on the bottom. The
"search for foam" continued this week as it has become a very difficult
thing to find. We can order some in that is 1.5 lb or 2 lb. but we don't
even know what those numbers mean, or any way of finding a point of
reference. We need to feel the stuff, and it seems nobody knows of anything beyond mattress "toppers" which are very light and thin. After all the confusion, we may have found a source, a local mattress store that has encased foam mattresses that are about 5" thick. We went down and checked it out, seems firm enough. Expensive though. We will, of course need to butcher the thing to get the foam out, but desperate times lead to desperate measures! Below, I managed to get a tidbit more done on the bookshelf over the forward berth. The back must be moved up as it is far too deep for any books to live in. Love those spindles! |
||||||
 |
||||||
Day 359:
9+ hours: put on galley verticals, and some more shelving, bookshelf, and seat
tops.
to DAY 358 |
 Motorhome CB Installations That Work! (tell us you read this ad) |
to Days 360+ |