| Day 381 |
 |
Big Door,
Watermaker |
| Day 381 |
|
Big Door,
Watermaker |
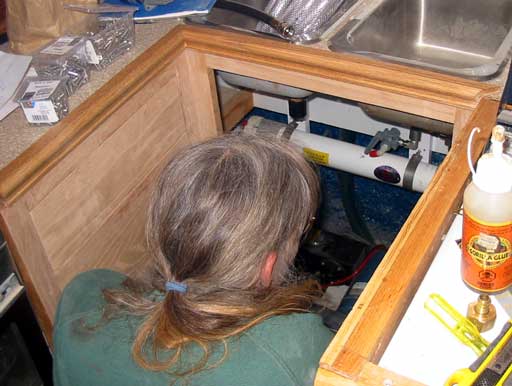
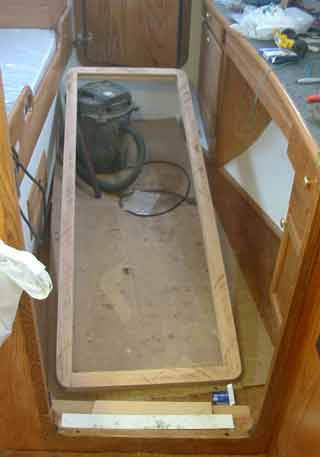
| Installing the water maker has been Genas' job since the beginning, and now she has her chance to show me how all of this planning has paid off. The position of it is very well placed easy to access, and remove, which is important. | |
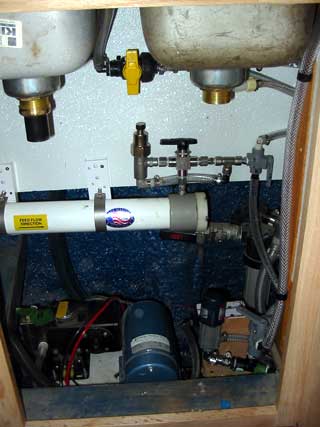
| Each time the water maker is used,
valves must be opened and closed to flush it, prime it, test the water, and
finally send the good water to the storage tanks. (this is to be in the
"flash" diagram back on day 366,
still not finished as of this date, but you can try it if you like!) Even the power switches for the pump must be located nearby for convenience. It still all seems a bit overwhelming to me, but I'm sure I'll get used to it. The high pressure pump is near the bottom of the photo ( the blue thing ) and is mounted on a slab that has been attached to the floor. The filter and booster pump still needs to go in there. Now I see why we had to reserve this much space under the counter! Now all we need is the theme song to the movie "Brazil" to play every time the door is opened! Ha ha! |
 |
 |
 |
|
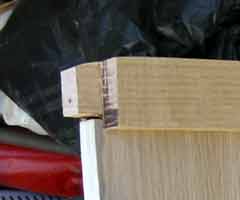
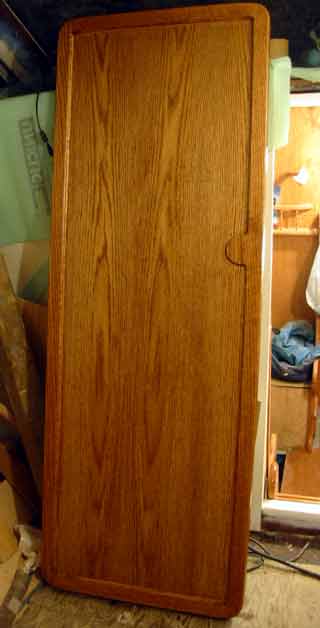
| Under orders, I began with the large door that separates the galley from the (my) forward stateroom. Notice the large tongue cut into some 2" x 2" oak board. This, and some screws, will make sure the door is very solid. | ||
|
||
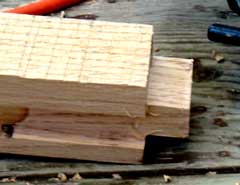
| The corners are rounded to allow
it to fit into the round hole, plus it looks really cool! The inner corners
were just routed fancy before the ply was put in. The router bits' roller
bearing is quite deep. I went back at it after supper until midnight finishing this as I have decided to put a regular door handle on it for the non-sealed closing. This will be good if we have guests aboard. Cut from 3/8" on one side and 3/4" on the other, a half circle will ensure there is enough inset. ( I measured the ones in the house!) A few more coats and she'll be ready to go in. |
 |
Day 381:
12 hours - Made the big door, connected all fittings for the water maker, pump
etc.
To DAY 380 |
|
To DAY 382+ |