| Day 385 |
 |
Potpourri day 2
|
| Day 385 |
|
Potpourri day 2
|
| Today was the
last day of our time off and a "wish we had another week because there's no
way we're going to finish the rest of the interior in one day" day! We gave it a good try though. The fact that basically no more saw dust creating sanding and cutting is necessary in the whole forward half of the boat was satisfying enough. |
|
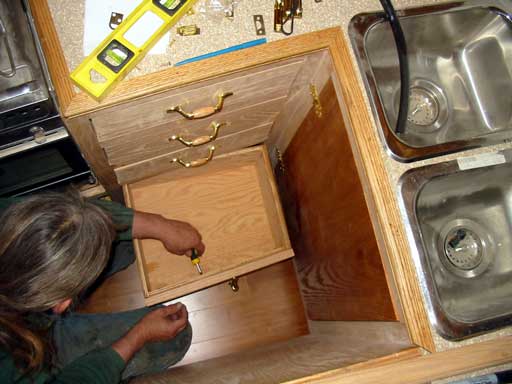
 Galley drawers ready for stain. That stove needs cleaning! |
Gena mounted all of the
handles and latches on the gallery drawers first, even though they will need
to be removed for staining and coating. ( My fault!) The latches are nice solid brass one finds in Rona or home depot. We searched high and low for some decent looking brass or SS latches but only found a couple. They were so expensive, tears would be pouring on them as they were installed. $25 - $40 each, multiplied by the number we need ( 10 for the galley alone ) and it comes to a substantial tally. These are nice but have sharp corners which may need to be filed down a bit. |
| She also mounted doors etc.
just to spite me I think! All of it must come of for staining and urethane.
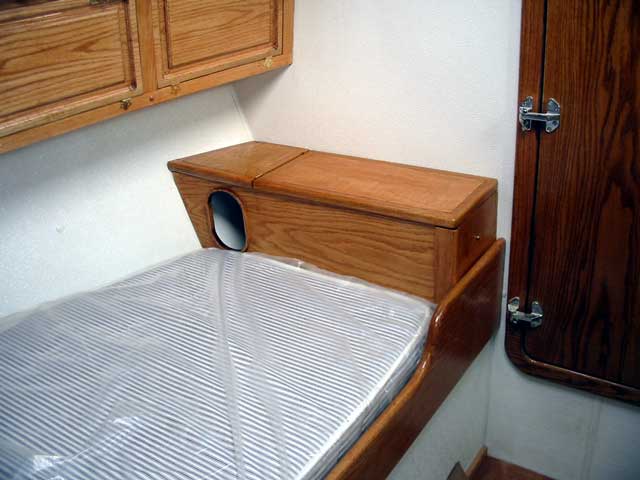
Ugh! I got around to putting in the little cubby hole frame started on day 376, and attached the top and footlocker door to it. I just love all these nooks to put "stuff". Must be my hunter/gatherer instincts. |
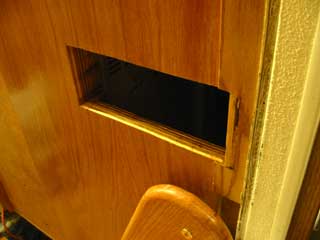
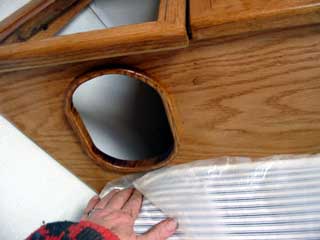 Cubby hole off berth |
 |
|
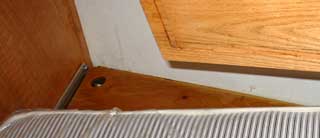
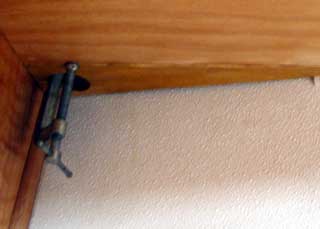
| Another job that just really
needed to be finished was the vent hole under the lockers over the berth. I
basically glued and siliconed the small triangle shaped piece into place.
The hole is for ventilation possibly through to
under the berth via a short length of vacuum cleaner hose. |
 |
|||
|
 |
|||
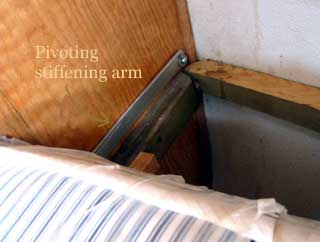
| The pivot arm support was also installed finally. I made this up at work out of a length of aluminum angle cut away into a flat bar on one end. This is to keep the one edge of the bed frame rigid while lifting to access underneath. Because the hull angle here is different than at the point where the hinges are, the bolt into the bulkhead needs to flex to the join. This was done by putting a large grommets on either side of the frame. It works! | ||||
| The next thing Gena went into was mounting the table leg for the dining area. Remember the movie theatre posts that we found had aluminum tops we thought were stainless? They have a flange on them that only needed to be drilled to become a table leg. Under the floor it continues for another 4-5". It's very tight in there so should be solid. ( feels solid! ) |
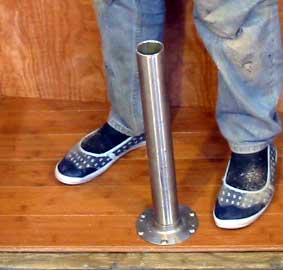 |
| Because the table must fall down
into a spare berth, the top half of this must fit inside. That'll mean some
welding etc. Finally a picture of me!! (right) Mirror adds a feeling of spaciousness. Not that it's not spacious already! It is in a brushed aluminum frame and was
prepared for some safety. I pulled it apart and laid out glue on the whole
mirror back, then put CC foam as filler instead of the included cardboard,
sealed it and drilled screw holes. If the mirror ever gets broken, the
shards won't fly all over as they are glued to a solid chunk of foam. The
foam will also give it some impact resistance. |
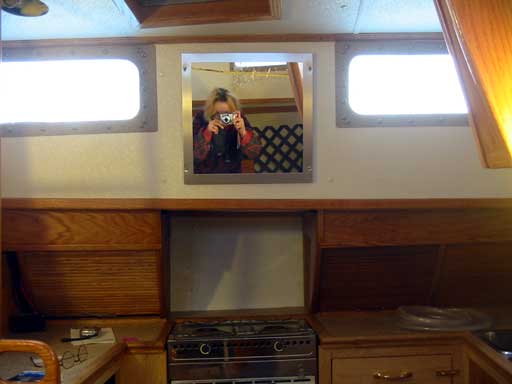 "Safe" mirror, say cheese! |
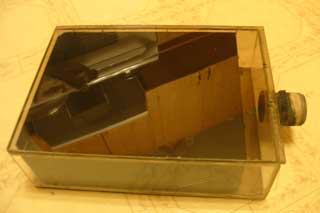
| The entertainment center in
the dining area has been a challenge, and continues to be. For 2 years we
have planned on installing a Pyle DVD player somewhere in here.
Space is extremely limited as it's not priority
stuff really. The place I have planned for is barely big enough for it. We
could find one that is smaller or just use a slot style, but those scratch
DVDs and most aren't compatable with everything including computer photo CDs
and non-standard mpeg stuff. In a word, it plays everything! |
 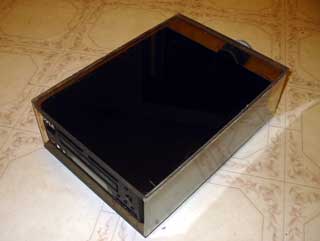 |
| Because of the
environment, and the bottom of the cupboard it will be mounted into being
open to the under floor area, I think it should be in a sealed box. Using
some scrap and leftover Lexan from the windows, I managed to fabricate a
case that is waterproof -the sides are routed into the top and bottom. This
give the glue a good anchor pattern in the otherwise smooth lexan. Good
practice for the pedestal display which must be absolutely waterproof! A
piece of pipe was attached to the back for the wires that will be sealed
with a latex glove. The front will have a flip down door.
I want it to last as long as possible because it really is a great little unit. |
|
| Blog: This unit will connect to the LCD TV as well as the stereo. I am in the process of making a stereo, well, the amp and selector section. As mentioned before, car stereos are nice, but are real power hogs with all the display lighting and processor power. Not made with amp-hours in mind at all. They belong in cars, not sailboats. I love my music, and don't really want to sacrifice the pleasure because of power consumption concerns. The page for the skookum amp is (will be) here. It will power low-watt speakers in a 4.1 MPX configuaration. Low watt speakers sound great, but are hard to find, especially a subwoofer! |
Day 385:
8 hours:
Made berth corner, mounted footlocker top, cubby hole, table leg, galley mirror,
and drawer latches, oven base locker door.
To DAY 384 |
|
To DAY 386+ |