| Day 396 |
 |
Steering, Ground
bus |
| Day 396 |
|
Steering, Ground
bus |
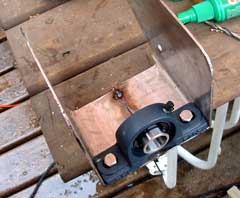
| Back to the steering! Alignment wasn't as difficult as I first thopught it would be. The bracket for the pillow block that the steering wheel connects to (below) was offset by 1/2" from the carrier. This way 1/2" lexan could be used to raise the other pillow blocks to the same hieght.
|
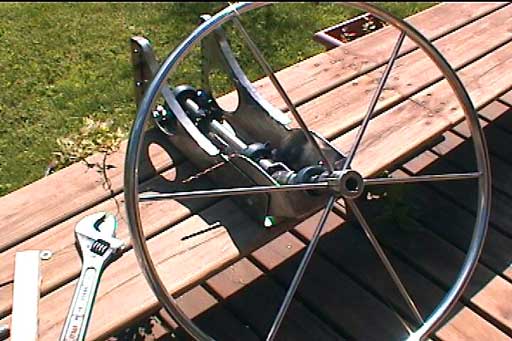 |
| The wheel turns nicely, under
it's own power when revved for 30 seconds. How's that for precision!!
Reminds me of the farm shows in Saskatchewan we used to attend as kids.
All sorts of contrived machinery built by farmers to make their job
easier. Back then, ( in their time, not mine silly! I'm not that old!) a
farmer couldn't just go down to the local John Deer dealer and buy a
combine. Pretty ingenious stuff. This pales in comparison, but you have
to start somewhere right?
|
|
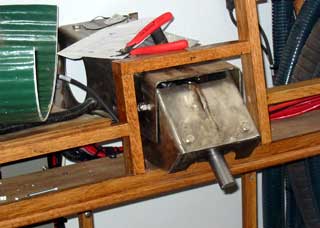 |
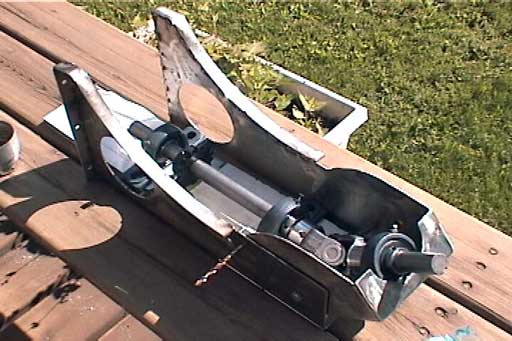
Once in pace, we had the
oppertunity to try it out. Looks like the height is correct, luckily. Gena
soent nearly an hour mounting it. The bolts ended up going into rivets on on
side and through 1/8" steel plus steel frame, threaded, on the other. Now I just need to figure out what to do to finish it. I thought of polishing but nah! Too time consuming. The chain and pump are next. |
||
|
|||
|
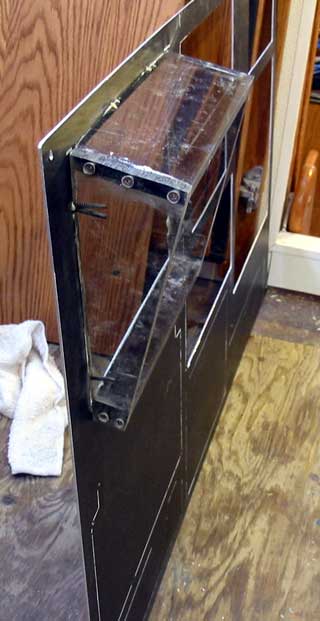
Now I have completed the steering and am in Genas
way, I decided to continue with the dash. The tablet PC that will go in the dash ( for charts etc ) is being a problem. I noticed that when standing behind the wheel and holding it level with the dash, the LCD display washed out! To solve this I have made a housing to allow it to lean back some, and discovered that when I hold the PC upside down, it's very conrtasty and dark. After adjusting the gamma on the video driver, it was perfect! Tablets can orient in any direction, lucky for me.
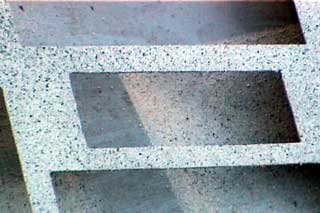
The little photo above was shot with the videocam to show the speckle pattern from 2 types of speckle stone spray paint. The dash was sandblasted, I had just enough left in the pot, then coated in the sun so it would dry quick. |
 |
||
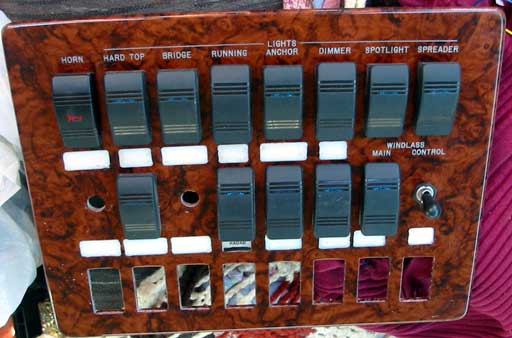
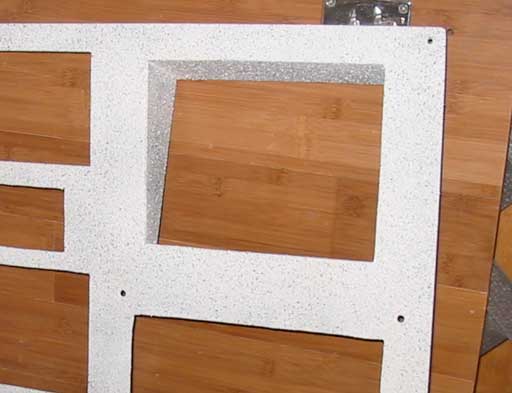 Main Dash face done to *my* specs! |
|||
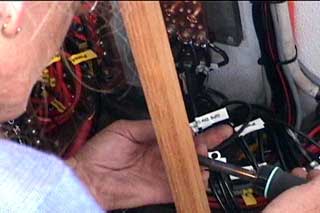
| Gena kept very busy with the wiring under the dash. She got a nasty kink her her neck by the end of the day. Soldering each lug before attaching at to a breaker or the ground bus takes its toll. | |||
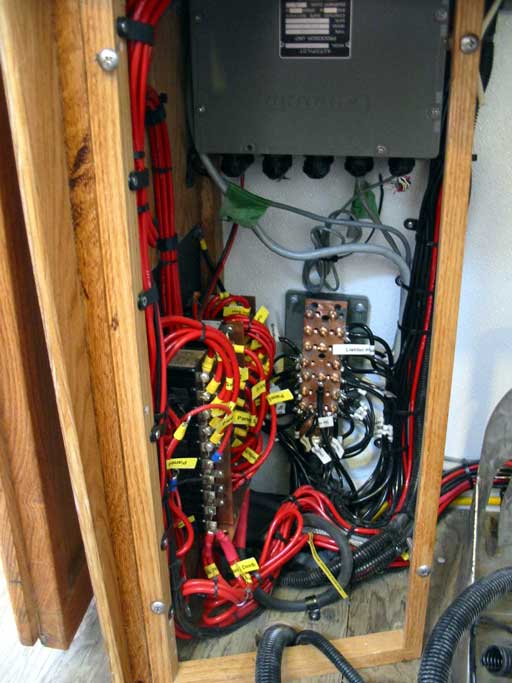 Main panel wiring. More and more! Auto pilot above. |
The ground bus was made at work
just before the weeekend. She forgot about spacing the holes enough for the
lugs. We're used to smaller lugs at work!
Each hole was tapped anyway, but 2 lugs will be
used on each bolt if necessary. Each wire has been meticulously labeled with "what it is". Yellow for hots, white for grounds. It makes more sense when looking at it all. (Photo left) |
 |
Day 396:
12 hours-Installed ground bus, finished steering column and installed, blasted
and painted dash/ top dash panels
|
My maritime hamshack |