| Day54 | 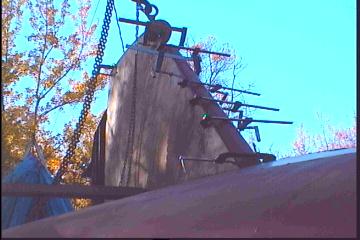 |
Clamping in Forward Keel plate |
| Day54 | |
Clamping in Forward Keel plate |
| The morning country silence was broken only by the singing of birds, breeze in the leaves, and us grinding and hammering a 300 lb piece of steel! | ||
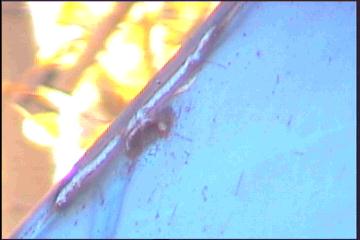 A close up view of the edge of plate at keel front, .."clamp cup" |
As can be seen in the photo at left, The only way we could secure clamps was to make a "cup" for the screw end to sit in. Or else they would just slide off. On the other side, we tacked on a piece of 1/4" rod that would hold the foot side of the clamps. After the piece was clamped into place, we could be assured of a fairly accurate mark to trim off the top. This was all done while the plate was still tacked on the bottom to save time. | |
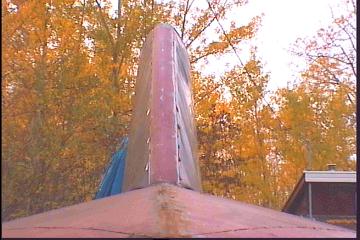
| I must admit
that the position I was in, flopped over the keel, wasn't
my favorite.....for plasma cutting... guys get your minds
out of the gutter! The frames had to be ground in by small amounts to continue fairness, especially near where the first frame meets the split-pipe at the front. This isn't an exact dimension in the plans so modifications had to be made. 3/16" was the deepest. |
||
 |
After the day was through, the front
of the keel was whole. The welding will have to wait
until next weekend, Thanksgiving, here in Canada. |
|
| Cold for the
start of October anyway! The plate must have contracted
quite a bit for that to happen as there was 7 or 8 tacks
and all of them broke. It was a rude awakening and made
us think of the winter to come, without working on our
boat. Unfortunately, we are not as far along as we had hoped we would be. The boat is still upside down! |
||
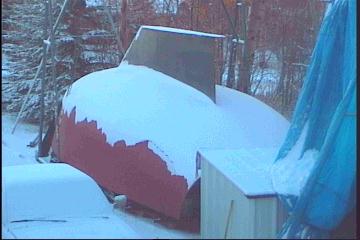
Taken October 5, -10
degrees Brrrr!!
Day 54:
Clamped in and tacked on forward port side keel plate. Continued
welding to the frames.
To DAY 53 |
 Sales, Service, Installation |
To DAY 55+ |